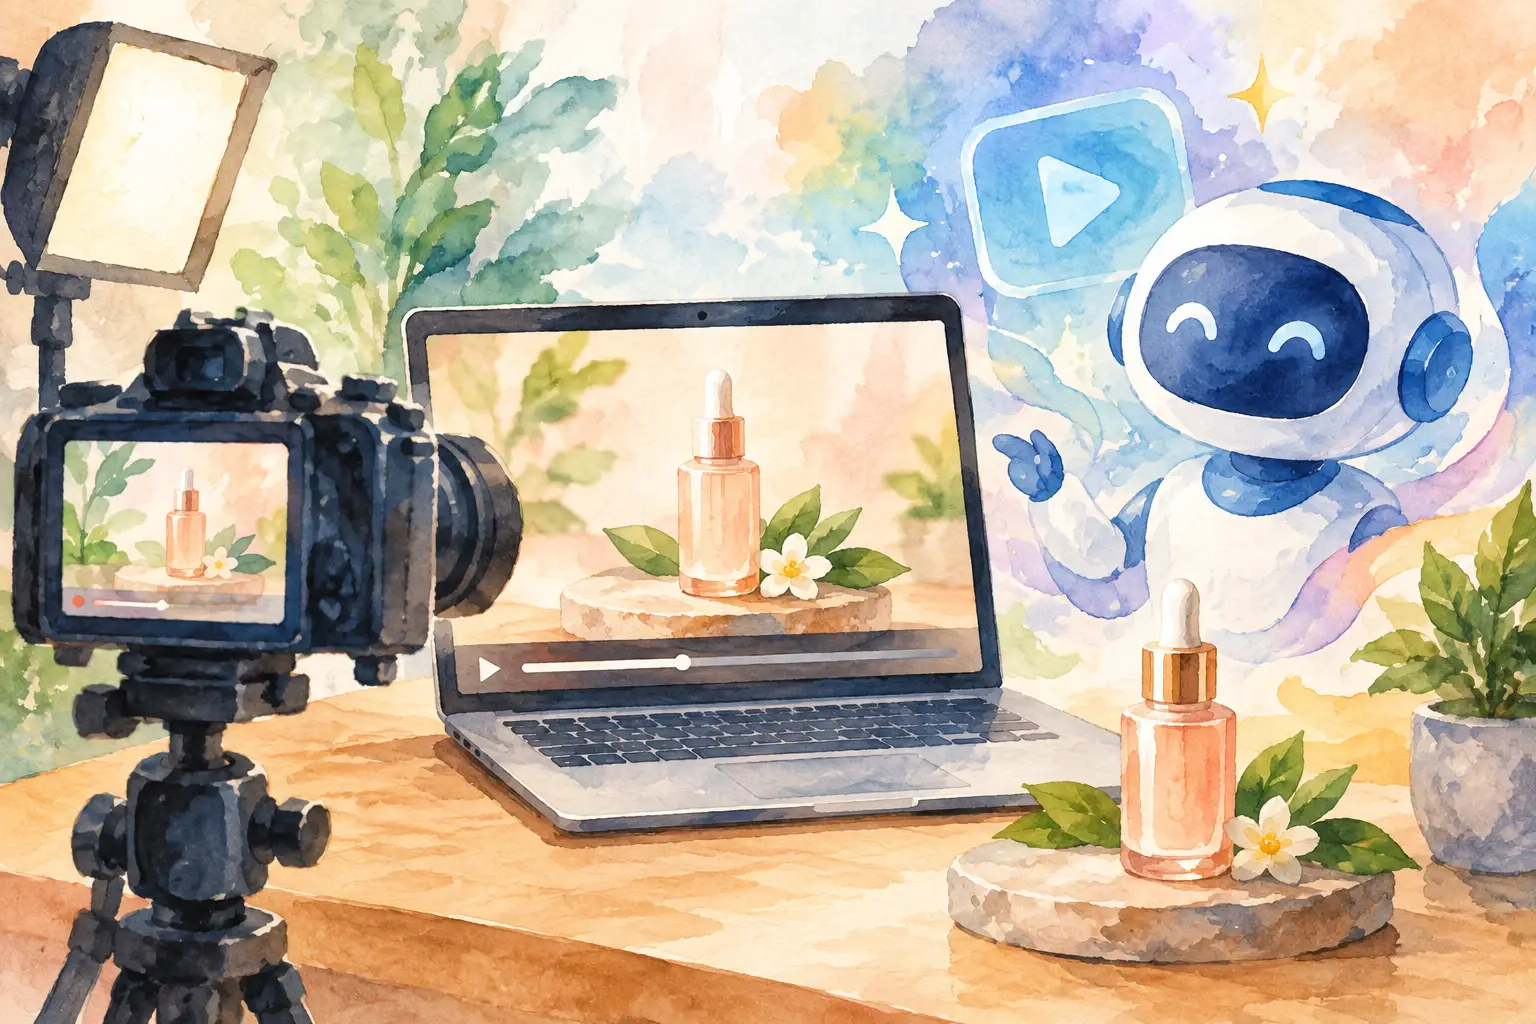
A product video does not need a studio, a full crew, or a week of reshoots to make someone stop scrolling. It needs one clear visual idea: show the product, make its value easy to feel, and give the viewer a reason to act. That is the real advantage of learning how to create product videos with AI. You can test more concepts, build more variations, and move from a campaign brief to usable short-form footage without waiting on a traditional production schedule.
AI works best when you treat it as a visual production tool, not a button that fixes a vague idea. Bring a strong product reference, make deliberate shot choices, and create for the platform where the video will run. The result can look polished while still moving at social speed.
Start with the job of the video
Before you write a prompt, decide what the clip must accomplish. A launch teaser, a product detail video, a paid social ad, and a creator-style post can feature the same item but need different pacing and shots.
For a new product launch, mystery and mood can carry the first few seconds. For an ecommerce product page, clarity matters more: viewers need to see scale, texture, use, and key features. For a performance ad, lead with the problem or outcome, then get to the product quickly. If someone cannot tell what is being sold within the first moments, a beautiful video may still underperform.
Write a one-sentence creative brief before opening your generator. Keep it practical: “Show a matte black insulated bottle staying cold during a bright summer commute.” That sentence gives every later choice a direction - setting, lighting, movement, benefit, and audience.
Build from a product reference, not imagination alone
Your product should stay recognizable from shot to shot. Upload clean source photos that show the front, side, back, and important details. If the item has a logo, unusual shape, packaging copy, or signature color, make sure those details are visible in the references.
Use images with even lighting and an uncluttered background when possible. A crisp product cutout or high-resolution packshot is usually more useful than a lifestyle photo with shadows, hands, and competing objects. You can always generate the lifestyle setting later.
This is where AI product video creation has a real trade-off. A looser prompt can create surprising visual concepts, but it may reinterpret the product. More references and clearer direction generally improve consistency, especially for packaging, fashion accessories, cosmetics, electronics, and branded objects.
If you are working with a person as well as a product, keep reusable character references organized too. The same applies to locations, props, and brand visuals. A library of approved assets turns future campaigns into a faster repeatable workflow instead of a fresh setup every time.
Plan a short sequence, not one overloaded clip
The fastest way to make product footage feel intentional is to break it into simple shots. Do not ask one generation to show the product, explain its benefit, change locations, reveal packaging, and end with a call to action. Give each moment one job.
A strong 10- to 15-second product video often uses four beats:
- A visual hook that creates curiosity or shows the product in motion
- A hero shot that makes the item easy to recognize
- A proof moment that demonstrates a feature, texture, or result
- A final brand or product frame with room for a message
For example, a skincare video could open on water droplets and soft light, cut to the bottle rotating against a clean colored backdrop, show a hand applying the cream, then finish on the product beside a short benefit line. The product stays central, but the sequence has movement and a story.
In a Studio workflow, build these as separate clips. It gives you more control over individual shots and makes revisions less expensive in time and credits. If the opening feels flat, replace the opening. If the product angle is wrong, regenerate that shot instead of throwing away an entire film.
Write prompts like a shot brief
The best prompts describe what the camera should see, not every thought behind the campaign. Start with the product and action, then add the setting, camera movement, lighting, and visual style.
A useful structure is: product + action + environment + camera + lighting + mood.
For example: “A cobalt blue wireless speaker on a wet concrete pedestal, slow rotating hero shot, urban rooftop at sunrise, close camera push-in, reflective puddles, clean premium commercial lighting.”
Specificity helps, but too many competing instructions can make the shot less predictable. If you need a close-up of a zipper, do not also request an aerial view, a busy street scene, three people, and a fast transition. Make the zipper shot first. Generate the wider lifestyle moment as a separate clip.
Use direct camera language when it matters: macro close-up, overhead shot, side profile, slow orbit, handheld creator view, locked-off product frame, or gentle push-in. These are familiar creative decisions, and they are easier to evaluate than broad requests like “make it cinematic.”
Choose format and pacing before you generate
A landscape master is not automatically a vertical social video. Choose the format based on where the clip will live. Vertical works naturally for Reels, Shorts, TikTok, and Stories. Square can work for feed placements. Horizontal gives you room for product explainers, landing pages, and longer video placements.
Frame the product for the crop from the beginning. Keep key details away from the top and bottom where platform labels, captions, and buttons may cover them. If the product is tall, vertical may be the obvious choice. If it needs a wide environmental reveal, generate a version built for horizontal placement rather than forcing a crop later.
Duration also changes the creative. A six-second loop needs a single striking gesture: a can cracking open, a sneaker landing, a perfume bottle catching light. A 15-second clip can support a problem-to-solution sequence. Longer is not automatically better. On a crowded feed, every second must earn its place.
Generate options, then select with intent
Do not expect the first result to be the final edit. Generate a small batch of variations around one concept, then compare them against the brief. Look for product accuracy first, then composition, motion, and whether the first frame earns attention.
Avoid choosing only the most visually unusual output. Ask whether it supports the product. A dramatic background can be useful, but not if it hides the packaging or turns the item into a prop. For performance creative, clarity often beats spectacle. For brand films and teaser content, you may have more room to prioritize atmosphere.
Use visible generation settings to make production decisions deliberately. Test quality when the product will fill the frame. Adjust duration when a movement needs room to resolve. Add sound when it contributes to the idea, such as a crisp pour, fabric movement, a click, or an energetic beat. If sound does not add meaning, plan for music or voiceover in the final edit instead.
vbros makes this process easier to manage by keeping prompts, references, generated clips, and multi-shot projects in one browser-based creative space, with generation costs shown before you create.
Edit for the thumb stop
Generation gives you footage. Editing gives it a reason to be watched. Open with your clearest or most surprising visual, not a slow logo reveal. Cut out any frames where the product is tiny, unclear, or waiting for something to happen.
Keep text short enough to read without pausing. A product name, one benefit, and a simple action are often enough. If the video needs more explanation, let the caption, product page, or a follow-up clip do some of the work. Trying to force every feature into one short video usually weakens the pace.
Make versions for different audiences rather than changing only the headline. A runner may care about weight and durability; a gift buyer may respond to color and packaging; a designer may notice material and finish. The same source product can support multiple visual angles.
Measure the creative, not just the views
After publishing, watch where people leave, save, replay, click, or comment. A high view count with no product interest may mean the hook was entertaining but disconnected from the offer. Low retention in the first seconds often points to an opening that needs a clearer product reveal or stronger movement.
Keep a record of what worked: the prompt style, first frame, format, camera move, product angle, and audience. Over time, you will build a practical playbook for your category. That is more valuable than chasing a single viral output.
The next product video does not have to start from zero. Start with one product reference, one sharp idea, and one shot worth watching. Then make the next version while the creative momentum is still there.