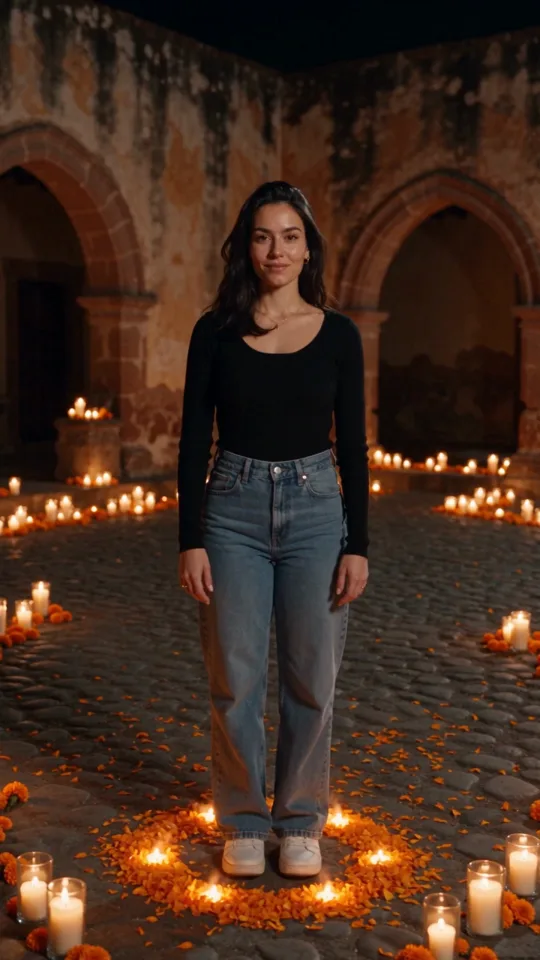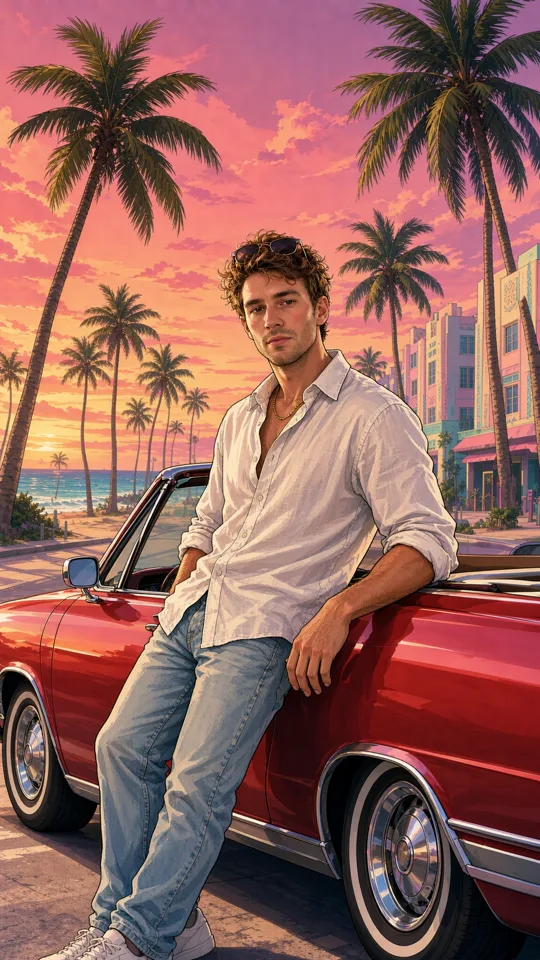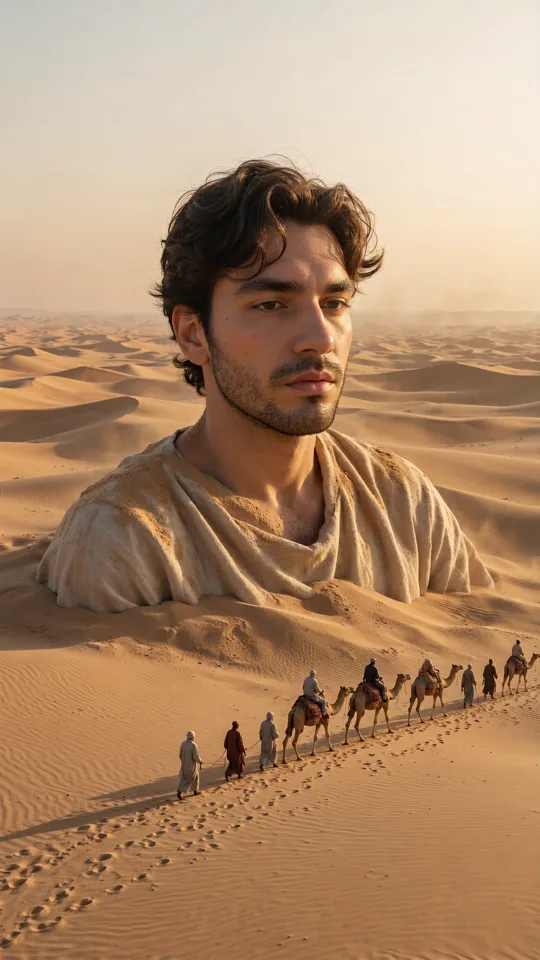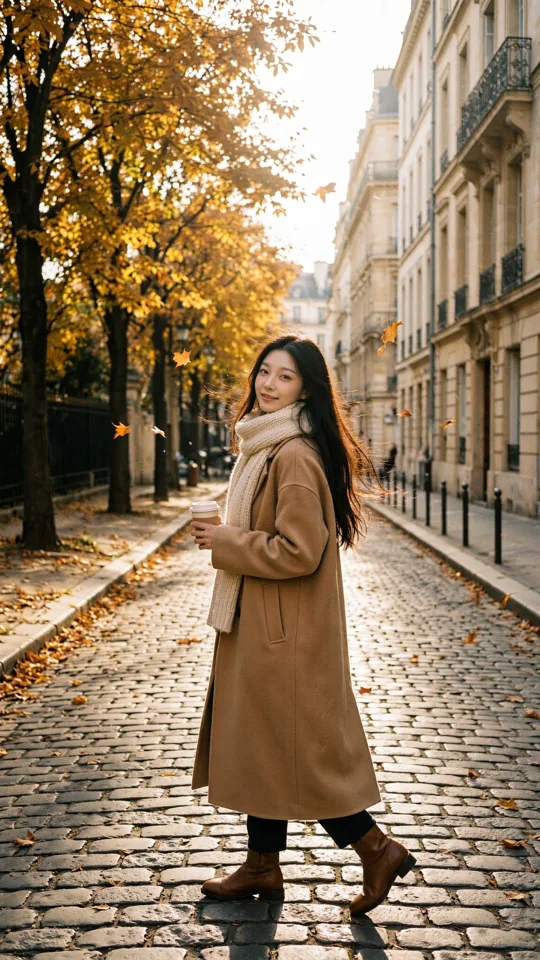
A product photo on a white background can become a glossy launch clip. A character illustration can become a repeatable social series. A location still can turn into an establishing shot before the first line of copy is written. The key is not asking an AI video tool to invent everything at once. It is giving it a strong visual starting point, then directing what happens next.
Learning how to generate videos from reference images is less about finding a magic prompt and more about making a few clear creative decisions: what must stay recognizable, what should move, and what the final clip needs to do on screen. Start with a source image that carries the visual work. Then use motion, framing, duration, format, and sound settings to turn that still into a shot.
Start with an image that gives the model a clear job
Reference images are not just inspiration. They tell the generator what your subject, palette, materials, lighting, composition, and visual style should look like. The better the image communicates those choices, the less you need to explain in text.
For a product clip, use an image where the product is large enough to read and its edges are not hidden by props. For a character, choose an image with a visible face, consistent wardrobe, and a pose that can logically move. For a fashion, travel, or lifestyle clip, choose a frame with a clear focal point rather than a crowded collage.
Resolution helps, but clarity matters more. A sharp photo with one obvious subject generally produces more controlled results than a highly detailed image with three people, competing text, and a busy background. If a logo, label, or exact lettering must remain perfect, treat the generated video as the visual layer and consider adding final typography afterward. AI video can preserve a reference well, but small text is still one of the least predictable details in motion.
Decide what stays fixed and what changes
Before you write a prompt, separate the reference into two parts. The fixed part is what viewers need to recognize: the product shape, a creator's face, a character's outfit, the room, or the color story. The changing part is the action: a camera push-in, fabric moving in wind, steam rising from a drink, a person turning toward camera, or lights shifting across a surface.
This simple split prevents a common mistake: prompting for a completely different scene while expecting the reference to remain intact. If your source image shows a sneaker in a studio, asking for a chaotic street chase, rain, a new outfit, and a low-angle tracking shot introduces too many changes. The clip may look interesting, but it is no longer dependable product storytelling.
Use one primary action per short shot. “The camera slowly pushes toward the watch as sunlight glides across the metal” is easier to control than “the watch spins, the model runs, the city changes from day to night, and the camera circles.” Save bigger ideas for multiple clips.
How to generate videos from reference images with a prompt
A useful prompt does not need a technical essay. Write it like a shot direction a collaborator could understand in seconds. Begin with the subject and action, then add camera movement, environment behavior, and mood.
For example: “Keep the reference product design. Slow cinematic orbit around the bottle, condensation gathers on the glass, soft blue studio light, premium beauty campaign.”
This prompt tells the model what must be preserved, how the camera moves, what secondary motion sells the shot, and the intended finish. It is specific without overloading the clip.
When your reference already establishes the look, avoid repeating every visible detail. Instead, spend the prompt on the new information the image cannot provide. Describe movement first. Then add the visual behavior that makes the movement believable: hair lifting slightly in a breeze, reflections traveling over chrome, a hand reaching into frame, or pedestrians passing behind the subject.
Negative instructions can help when they are precise, but they should not become a long list of fears. If the platform supports them, use short guardrails such as “no extra products,” “no text,” or “keep face consistent.” If a result drifts, revise the source image or simplify the action before stacking more restrictions into the prompt.
Match the camera movement to the reference
Camera direction changes how much the model has to invent. A centered product image is a natural fit for a push-in, pull-back, or gentle orbit. A wide exterior image works well for a slow lateral move or a rising aerial feel. A close portrait can support a subtle handheld shot, eye movement, or a small head turn.
A dramatic angle change can look great, but it asks the generator to create parts of the scene that were never visible. Use it when experimentation is the goal. For campaigns, catalogs, or repeatable content, begin with modest movement and build variation through separate clips.
Set duration and format before generating
A strong clip can still be the wrong asset if it does not fit the placement. Select the final format before you generate whenever possible. Vertical works naturally for Stories, Reels, Shorts, and creator-led ads. Square can suit feed posts and product grids. Landscape gives more room for cinematic scenes, web headers, and presentations.
Short durations are an advantage, not a limitation. A two- to five-second clip can create a clean hook, a product reveal, a transition, or a visual loop. Keep the action proportional to the length. A slow camera push needs enough time to register. A quick gesture or whip pan needs a shorter, sharper cut.
Quality settings also involve a trade-off. Higher quality can be worth the credits for a hero asset or paid campaign, while lower-cost tests make more sense when you are comparing prompts, references, or motion ideas. Check generation cost before creating so the creative decision and the budget decision happen together.
Build a sequence, not one overloaded video
The fastest way to make a polished short film is usually to generate several purposeful shots rather than chase one perfect 20-second result. Start with an establishing image, follow with a closer product or character moment, then end on a detail, reaction, or clean frame for copy.
For example, a skincare launch could use three reference-led clips: the product on a reflective surface, a close shot of the dropper dispensing serum, and a final slow push toward the package. Each shot has one job. Together, they feel designed.
This approach also makes revisions cheaper and easier. If the middle clip is weak, regenerate only the middle clip. If a campaign needs a vertical cut and a landscape cut, reuse the same visual direction while adjusting framing for each output.
In a workspace such as vbros Studio, organizing references, characters, locations, objects, and generated clips in one creative library makes this sequence easier to maintain. You are not restarting the visual language every time you make a new shot.
Keep characters and products consistent across clips
Consistency depends on repetition. Use the same approved reference whenever possible, rather than uploading slightly different versions of the same person or product. Keep core prompt language stable too: the character description, key wardrobe details, product name, location, and lighting style should not change unless the story calls for it.
For recurring characters, create a small reference set with a front-facing portrait, a three-quarter view, a full-body image, and a few expressions if available. A single image can work for simple clips, but multiple approved views give you more options when a scene requires turning, walking, or a new camera angle.
For objects, remove ambiguity. If a product has a signature cap, handle, label placement, or silhouette, make that feature visible in the reference and mention that it should be retained. Test a short clip before producing a full batch. That early test reveals whether the visual identity holds under motion.
Troubleshoot the results by changing one thing at a time
When a generation misses the mark, avoid replacing the image, prompt, movement, and settings all at once. You will not know what improved the result. Start by identifying the real issue.
If the subject changes too much, use a cleaner reference and reduce scene changes. If motion looks unnatural, choose a smaller action or a simpler camera move. If the clip feels flat, add one visible physical behavior such as shadow movement, water ripples, drifting fabric, or shifting reflections. If the output looks good but does not fit the edit, adjust duration or aspect ratio rather than rewriting the whole concept.
Generate a few controlled variations instead of expecting the first output to be final. Creative direction is iterative, especially when you are translating a still visual into time-based media. Save the references and prompts that work. They become a reusable system for the next campaign, not a one-off experiment.
The best reference-image videos feel intentional because every setting supports a single visual idea. Pick the image that already says something, give it one believable motion, and create the next shot while the direction is still clear.