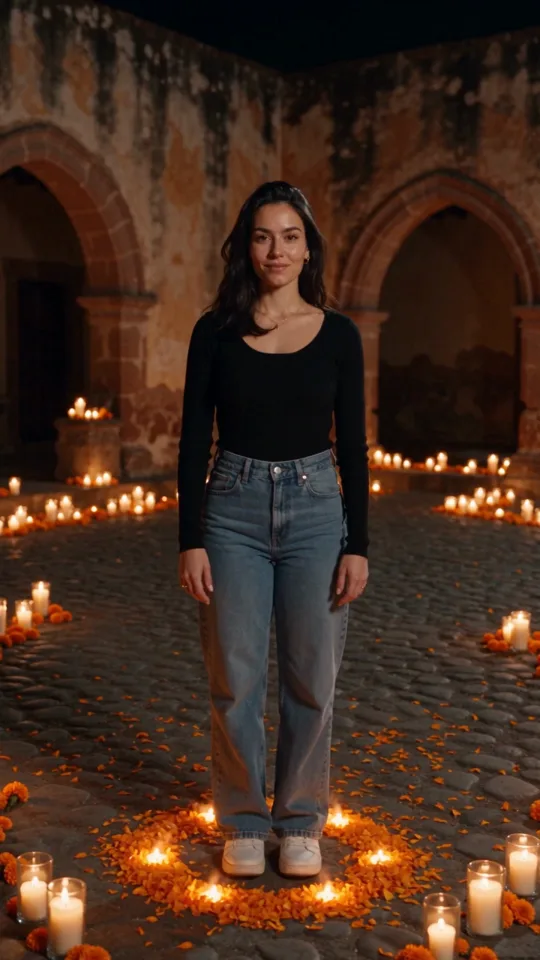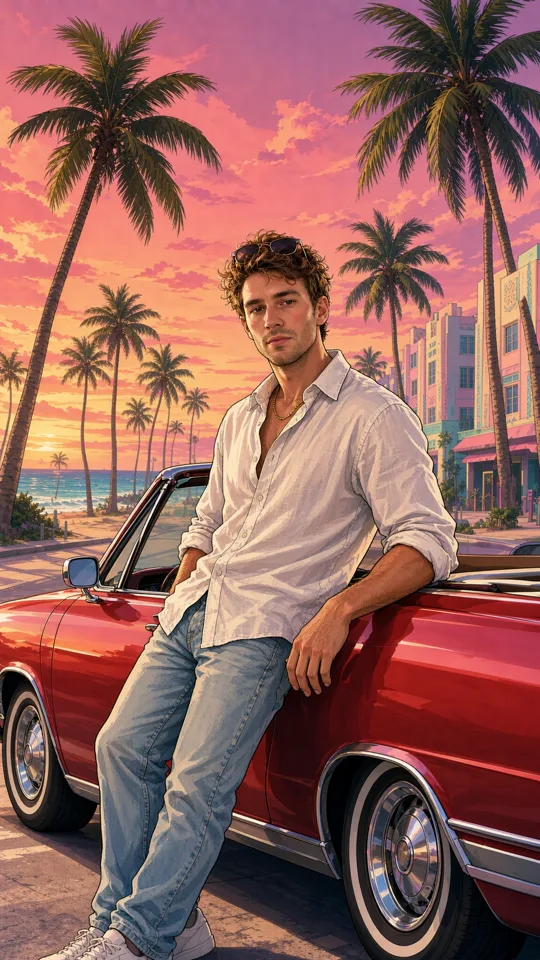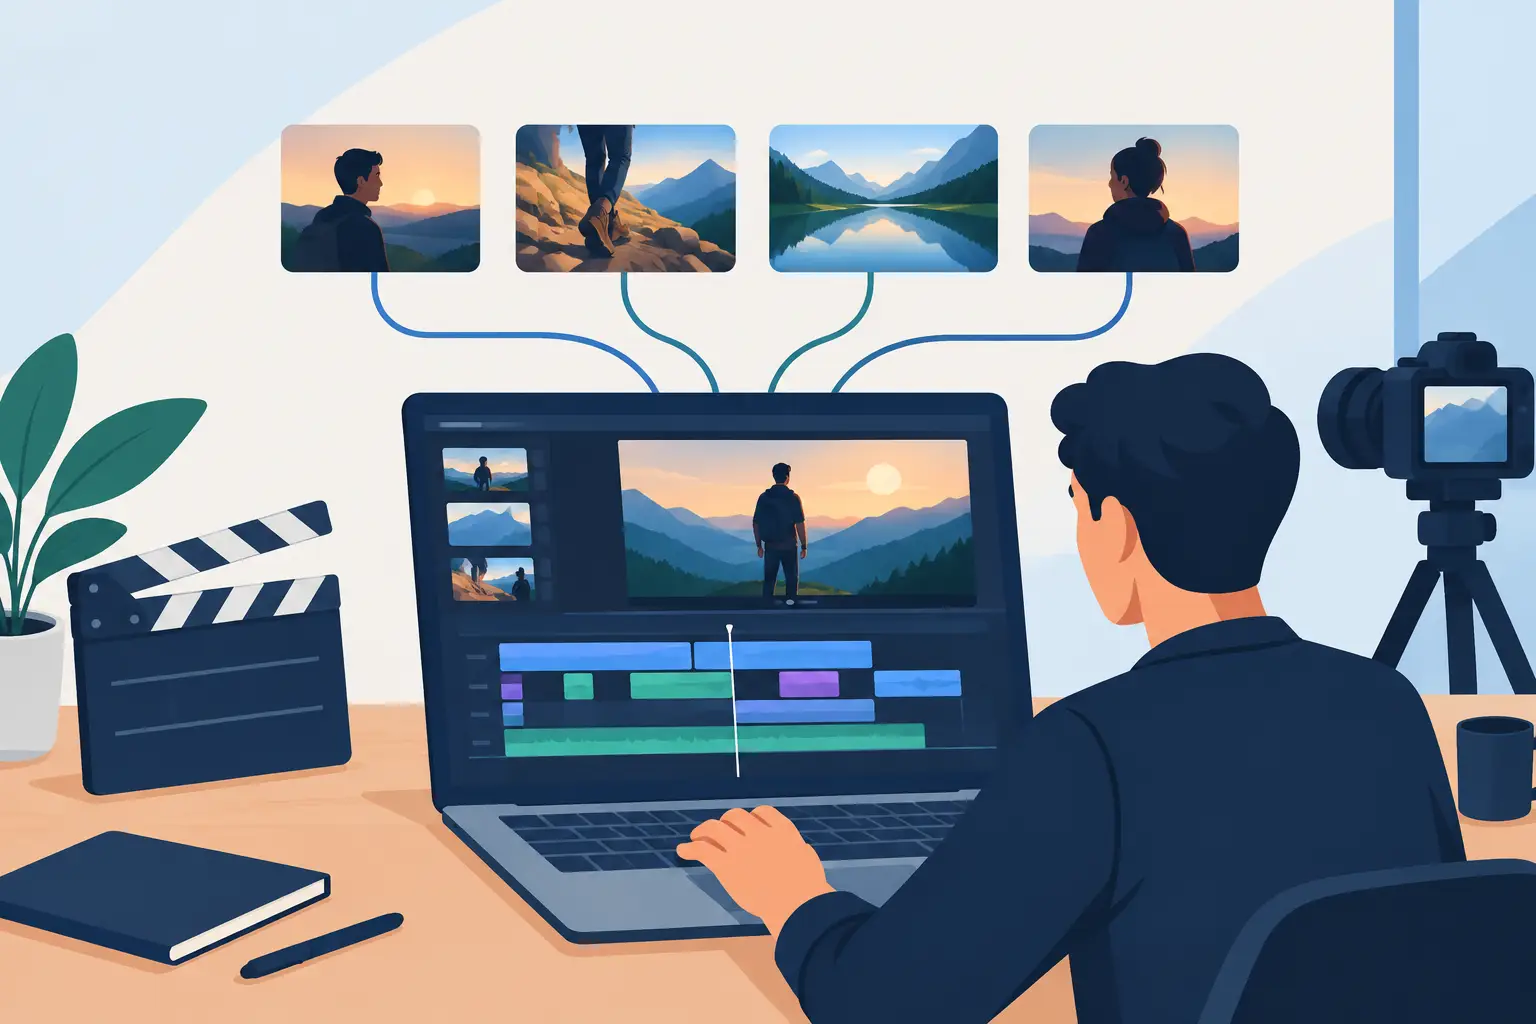
A 20-second product story can need more than one great image. It needs an opening that stops the scroll, a close-up that explains the value, a moment of movement, and an ending people remember. Multi clip filmmaking is how you turn those separate moments into one connected film instead of a collection of unrelated generations.
For creators and small teams, that changes the job. You are not trying to generate one perfect video in a single attempt. You are building a sequence of intentional shots, then shaping pace, continuity, sound, and format around the message.
What Multi Clip Filmmaking Actually Means
Multi clip filmmaking is the process of creating a short film from multiple individual clips. Each clip has a specific role: establish a setting, introduce a person or product, show an action, reveal a detail, or land a call to action. The final result works because the clips feel like parts of the same idea.
This approach is especially useful for social campaigns, launch videos, music visuals, concept trailers, creator reels, and product storytelling. A single generated clip can be striking, but it rarely has enough range to carry a full narrative. Three to six well-chosen shots often do more than one long, unfocused scene.
The trade-off is that separate clips create a continuity challenge. If the character changes, the product color shifts, or the lighting jumps from clip to clip without purpose, the audience notices. Good multi-clip work is less about generating more footage and more about making smart decisions before you generate.
Start With a Shot List, Not a Giant Prompt
The fastest way to slow down production is to put an entire film inside one prompt. You may get an interesting result, but you give up control over pacing, framing, and the exact moments your story needs.
Start with one sentence that describes the film. For example: “A runner discovers a lightweight hydration pack during an early morning city run.” Then break that idea into a short sequence.
A simple 15-second version might open on empty streets before sunrise. The next clip follows the runner from behind. A third shot focuses on the pack, water drops, and motion. The final clip shows the runner reaching a rooftop at sunrise, with room for a brand message.
This is not about writing a traditional shooting script. It is about assigning a job to every clip. If a shot does not introduce, explain, build energy, or resolve the idea, cut it from the plan.
Give Each Clip One Clear Purpose
A clip can do several things visually, but it should have one main story function. Establishing shots create context. Medium shots carry action. Close-ups create detail and texture. A payoff shot gives the viewer a reason to remember the film.
That structure also helps when you need multiple edits. A product campaign may need a 9:16 vertical version for Reels and TikTok, a 1:1 cut for feeds, and a wider version for a landing page. When each shot has a purpose, you can reorganize the sequence without rebuilding the entire idea.
Build a Visual System Before You Generate
Continuity begins with a few decisions that stay fixed across the project. Define the character, location, product, wardrobe, time of day, color palette, camera behavior, and visual mood. You do not need a massive style bible for a short video. You do need enough consistency that every prompt points toward the same world.
For a skincare film, that might mean soft daylight, pale stone surfaces, translucent packaging, clean macro details, and slow camera motion. For a streetwear launch, it could mean nighttime city reflections, flash photography, deep shadows, handheld movement, and a specific jacket silhouette.
References matter here. Use source photos and reference assets when a face, product, object, or location needs to stay recognizable. Reusable characters and organized assets reduce the need to describe the same details from scratch in every prompt. They also give you a stronger starting point when a new clip needs a different angle or action.
The goal is not to make every shot identical. A film needs contrast. Move from wide to close, calm to fast, dark to bright, or stillness to motion. Keep the identity consistent while changing the shot language.
Control Shots, Then Create the Cut
Treat each generated clip like footage in an edit. Create the clips individually, review them in sequence, and look for the handoffs between shots. The end of one clip should make the start of the next feel natural.
Motion is one of the easiest ways to connect scenes. If a subject exits frame right in one shot, consider beginning the next shot with movement toward frame right. If a camera pushes into a product detail, follow it with an even tighter close-up. If a flash of light ends one clip, use a similarly bright transition to begin the next.
You can also connect clips through repeated details: the same red bag, a recurring skyline, a sound cue, or a color that appears at key moments. These visual callbacks are small, but they make separate generations read as a deliberate sequence.
Be careful with overly complicated transitions. A hard cut can feel more modern and confident than a transition effect. If the story changes location, time, or energy, let the cut do that work. Use effects only when they reinforce the creative direction.
Choose Duration Based on the Beat
Not every clip deserves the same length. A fast action detail may need only one or two seconds. An establishing shot may need long enough for the viewer to understand where they are. A final frame may need extra space for a headline, logo, or call to action.
Short-form audiences move quickly, so lead with the strongest visual or a clear point of tension. But do not confuse fast pacing with random pacing. The best rhythm depends on the idea. A fashion teaser can cut sharply. A cinematic travel piece may need room for atmosphere. A tutorial needs enough time to make the action understandable.
Use Prompts Like Directing Notes
A strong prompt for a single shot combines subject, action, setting, visual style, and camera direction. Instead of asking for “a cool shoe commercial,” direct one moment: “Close-up of a white running shoe hitting wet pavement at dawn, water splashing in slow motion, low tracking camera, crisp sports campaign lighting.”
Then carry the fixed elements forward. In the next clip, keep the same shoe description, lighting, and setting, but change the camera: “Wide side view of the same runner crossing an empty downtown street at dawn, low mist, dynamic tracking shot.”
Specificity helps, but clutter can work against you. Include the details that affect the shot. If the viewer will never see the runner’s watch, it does not need to be the center of the prompt. Focus on what is in frame, what is happening, and how it should feel.
In a Studio workflow, use shot-level controls for the decisions that need to change, such as duration, quality, format, sound, model, references, and prompt details. That separation is useful: the project keeps its creative identity while each shot gets the direction it needs.
Review for Continuity Before You Polish
Once the rough sequence exists, watch it without stopping. Look for the moments where attention drops or the visual logic breaks. Does the product suddenly change shape? Does the character appear in a different outfit? Does a quiet clip interrupt the energy too early? These are production decisions, not minor details.
Fix the highest-impact issue first. Often that means replacing one weak clip, not regenerating the whole film. Save the shots that work, organize them in a creative library, and reuse them across alternate cuts. This keeps experimentation fast and makes credit use easier to manage because you can see what is worth building on.
Sound deserves the same attention. A subtle beat, a footstep, a voice line, or a single impact can make a cut feel intentional. If sound is not part of the concept, design for silence anyway. Visual transitions need to make sense without relying on audio to rescue them.
Make More Versions From the Same Idea
A finished sequence is often the beginning, not the final deliverable. Create a shorter hook-first cut, a product-focused cut, and a creator-led version from the same core footage. Change the order, opening frame, text space, or soundtrack to match the platform and audience.
vbros makes this kind of iteration practical by keeping generation, references, reusable assets, and multi-clip production in one browser-based workspace. You can move from a quick prompt-led concept to controlled shot building without treating every new version like a separate production.
The best multi-clip films do not feel like a technical demo. They feel like someone had a clear visual idea and knew exactly when to cut. Start small, give every shot a job, and let the next version get sharper.