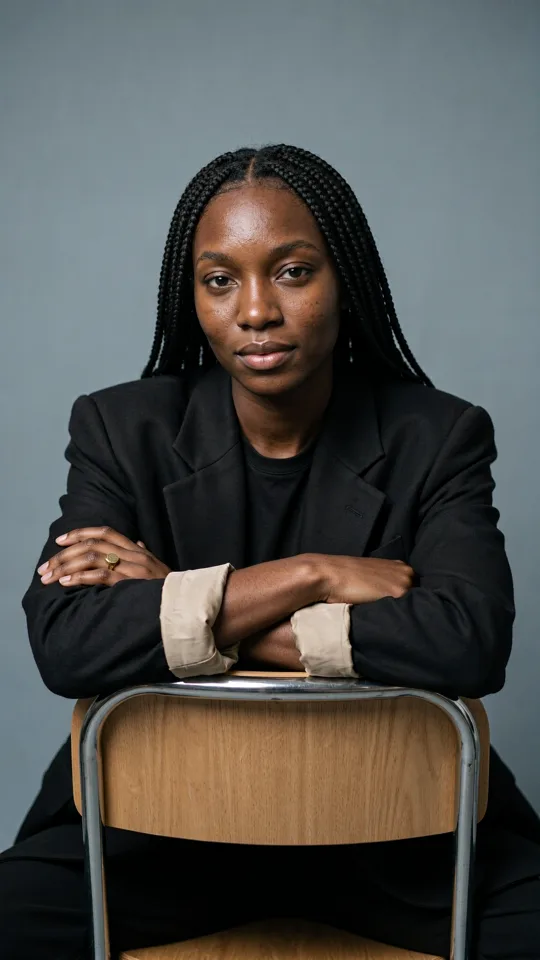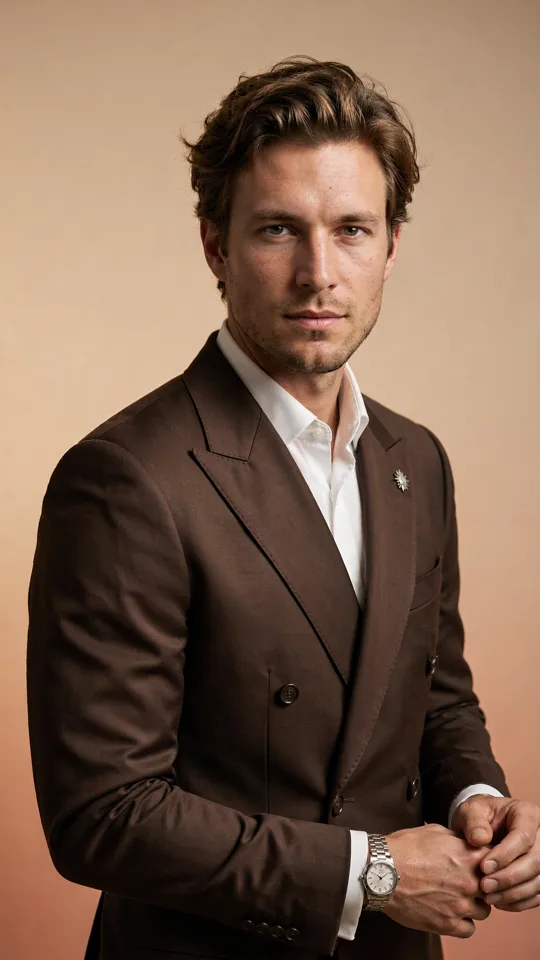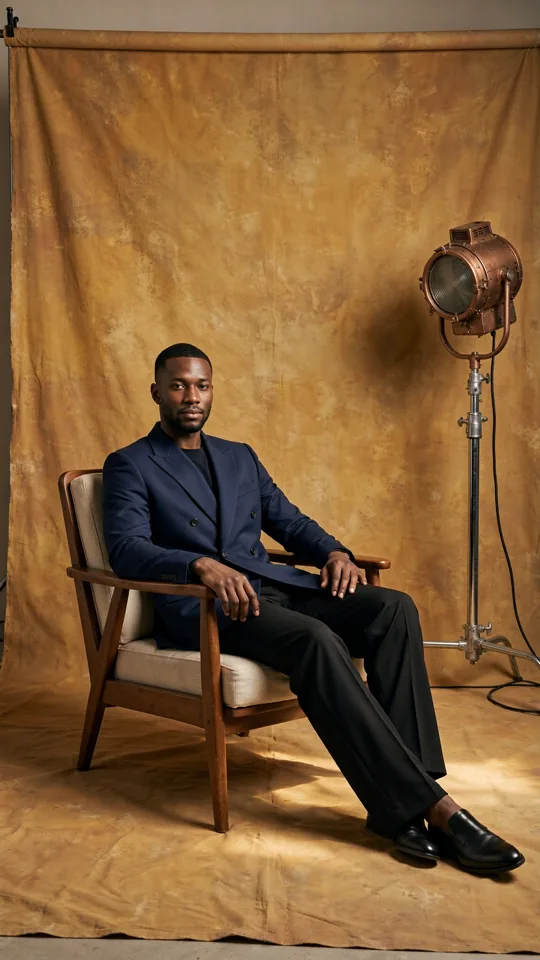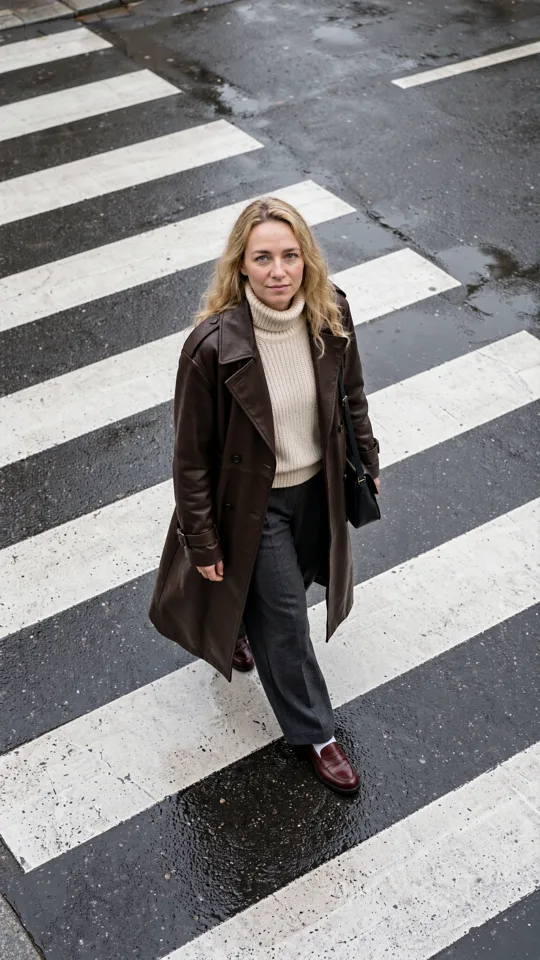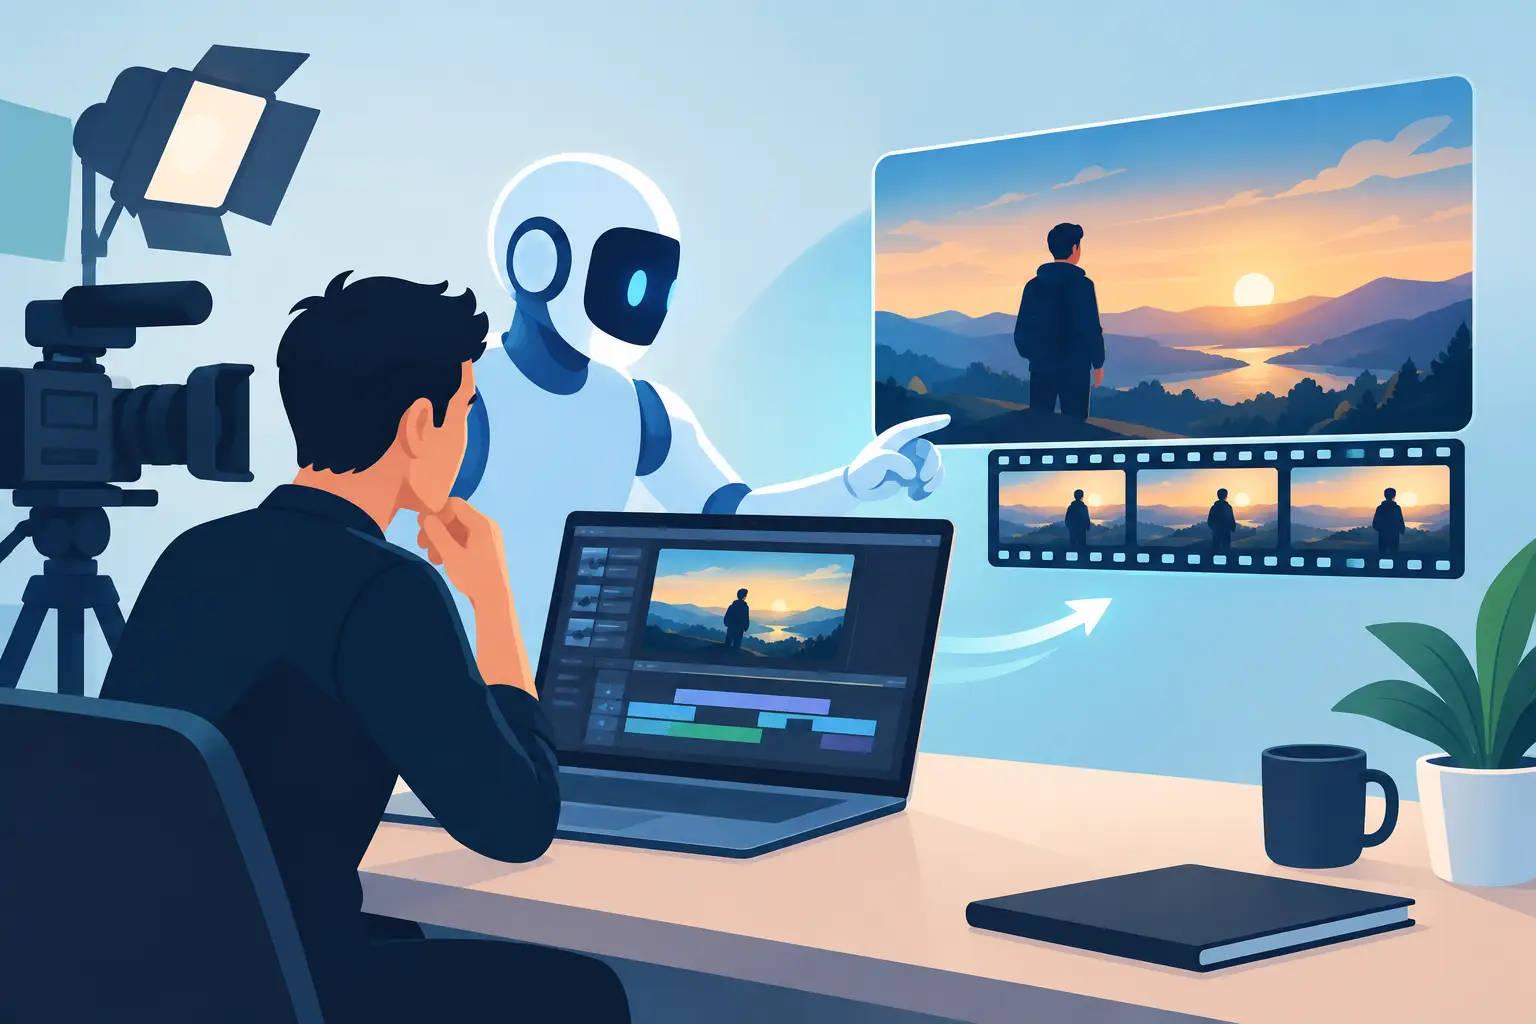
A product launch needs five fresh clips by Friday. A creator has a strong character concept but no location, crew, or shooting day. A small team wants to test three campaign directions before committing to one. AI filmmaking changes the starting point: instead of waiting for production resources to line up, you can make a first visual version while the idea is still sharp.
That does not mean typing one prompt and calling the result a film. The useful part is faster visual decision-making. You can turn a brief, a source photo, or a reference image into shots, compare directions, keep the strongest assets, and build a short sequence with intention.
What AI filmmaking actually changes
Traditional production is excellent when you need precise performances, controlled lighting, practical effects, and a large-scale shoot. It also takes coordination: locations, equipment, talent, schedules, edits, and revisions. For a 10-second social clip, a mood film, or an early campaign concept, that process can be more than the job requires.
AI filmmaking compresses the early stages of production. It gives creators a way to explore casting, art direction, camera language, motion, and atmosphere before a full shoot exists. A skincare brand can test a dreamy bathroom scene, a glossy product macro shot, and a playful stop-motion look in an afternoon. A musician can create a visual world around an unreleased track without treating the first draft as a final commitment.
The trade-off is control. Generated footage can introduce unexpected details, shift a character's appearance, or interpret a simple instruction in a strange way. The best results come from directing the process in smaller decisions, not from writing a longer and longer prompt. Think in shots, references, and edits.
Start with the film's job
Before choosing a style, decide what the short film needs to do. Is it stopping a scroll, explaining a product, setting a mood, or proving an idea to a client? One goal gives every creative choice a filter.
A launch teaser might need one memorable reveal. A founder video may need a believable setting and a clear product moment. A fashion concept may only need movement, texture, and attitude. These are different films, even if each begins with the same product photo.
Write a one-sentence creative brief that includes the subject, action, feeling, and format. For example: “Vertical night-time clip of a chrome sneaker rotating under rain-slick neon reflections, built for a fast product reveal.” That is more useful than asking for “a cool sneaker video” because it gives the generation a visual task.
Choose one visual anchor
Every strong short film has something viewers recognize from shot to shot. It may be a character, product, location, color palette, or prop. Pick one anchor before generating variations.
If the product is the anchor, use clean source photos and preserve its defining features. If a recurring character matters, create and save that character reference before building a sequence around them. If the world is the anchor, establish the location first, then place the action inside it.
This step prevents a common problem: five individually attractive clips that do not feel like they belong in the same film.
Describe the shot, not just the subject
A prompt becomes more reliable when it reads like a production instruction. Name the subject, setting, action, camera behavior, lighting, and mood. Add only the details that influence the frame.
Instead of “woman drinking coffee in a cafe,” try “close-up of a woman lifting a ceramic espresso cup in a sunlit corner cafe, shallow depth of field, slow handheld push-in, warm morning color.” The second version tells the model what to prioritize visually.
Keep prompts specific, but leave room for a useful surprise. Overloading a single shot with wardrobe details, multiple actions, competing locations, and complicated camera moves can make the result less stable. If the idea has three beats, make three clips.
Build AI filmmaking shot by shot
A practical short-film workflow looks less like a magic button and more like a compact edit bay. Generate an establishing shot, a detail shot, a movement shot, and an ending frame. Then decide which clips deserve another pass.
For most social work, 6 to 15 seconds is enough time to create a clear visual arc. The opening earns attention. The middle adds motion or a change. The final moment lands the product, message, or mood. You do not need a complicated plot to make a sequence feel complete.
Create a first frame worth continuing
Start with the clearest image of the concept. This is often a wide setting, an iconic product angle, or a character introduction. If the opening frame is confusing, the rest of the video has to work harder.
Use references when consistency matters. A source photo can preserve a product shape or facial identity. A style reference can keep the lighting and composition aligned. Reference assets are especially useful when the work needs to match an existing campaign rather than invent a new world from scratch.
Add movement with a reason
Movement should reveal, emphasize, or transition. A slow push-in can make a product feel premium. A side track can reveal a location. A quick whip pan can shift energy for a trend-led clip. Motion without a purpose may look impressive for a second, but it can pull attention away from the subject.
Match duration to the action. A simple glance, turn, or object reveal may need only a few seconds. A character walking through a scene needs more room. Shorter clips are often easier to control and easier to edit into multiple versions.
Make coverage, not just one hero clip
Generate alternatives around the same moment. If your main shot is a wide view of a beverage can on a rooftop, create a close-up of condensation, a hand reaching for the can, and a skyline detail in the same color world. Those extra shots give you options when the edit needs pace or a cleaner transition.
This is where a Studio workflow becomes useful. In vbros, you can organize references and assets while building individual clips into a multi-shot sequence, rather than losing every useful variation in a folder of exports. The creative library is not just storage. It is the memory of the film you are making.
Use controls where they make a visible difference
Not every setting needs attention on every generation. Put your time into the controls that affect the outcome viewers will actually notice: format, duration, quality, sound, model choice, and references.
Format comes first because it changes composition. A vertical 9:16 clip needs the subject centered or deliberately framed for a phone screen. A wide format gives more room for environment and cinematic negative space. Do not make a horizontal shot and hope it crops cleanly later.
Quality matters most for product close-ups, textural fashion work, and clips that will be edited or displayed larger. For rough concepts and direction testing, faster settings can be the smarter choice. Generate quickly to choose the idea, then spend more on the shots that make the final cut.
Sound is similar. If the clip depends on a beat, a crowd atmosphere, or a clear sound cue, plan for it early. If the final edit will use a track or voiceover, focus first on visual rhythm. Transparent credit costs before generation help make those choices practical: test broadly at the draft stage, then invest in the versions you will use.
Fix the problems that make generated films feel random
When a result is close but not usable, do not restart from a vague prompt. Identify the single problem. Is the camera too active? Is the face changing? Did the product lose its shape? Is the background competing with the subject? Revise the instruction or reference that addresses that issue.
Character consistency usually improves when you reuse the same approved reference and avoid asking the character to change too many traits at once. Product accuracy improves when the product photo is clear and the requested action is physically simple. Scene consistency improves when you keep the same location reference, lighting language, and color direction across clips.
Also know when AI footage is the wrong tool. Use real footage when legal claims, exact packaging, live performance, or a specific human moment must be documented precisely. Use generated shots when you need a concept, a visual extension, a fast variation, or a scene that would be expensive to stage. Hybrid work is often the strongest option.
Make room for better choices
The advantage of AI filmmaking is not that every first result is perfect. It is that creators can see more possibilities before the deadline makes every choice permanent. Save the references that work, name the clips you may reuse, and keep a small collection of proven prompt structures for your brand or channel.
The next great short film may start as one line, one photo, or one unexpected frame. Give it a clear job, build it one shot at a time, and let the strongest version earn the final edit.